
Job Description
The hockey stick coffee table is one of the easier projects, making it a great place to start if you’re a relatively inexperienced woodworker. For that reason, the descriptions you’ll find below are a bit more in depth.
What you’ll need
- Mitre Saw
- Circular saw
- Drill
- Bubble level
- 4 bar clamps (2 greater than 3 ft)
- Around 40 sticks.
- 2 boxes of #6, 1.25” wood screws
- 1 box of #6, 1.5” wood screws
Building the top
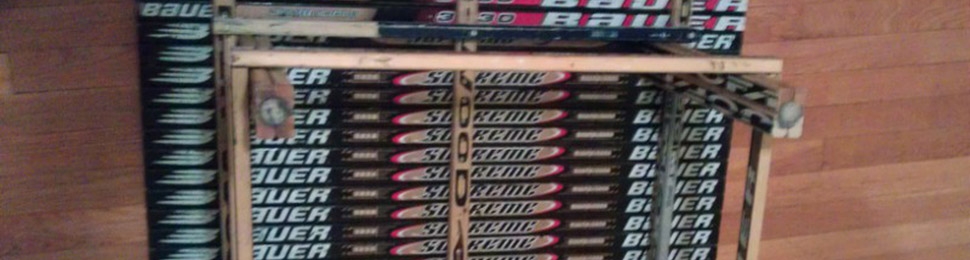
The first order of business is to line up and place your sticks in the order you want. I’ve got 23 for my coffee table top. Place them so the top of the table appears as exactly as you’d like: labels lined up, Eastons next to Eastons, or interweaved with Bauer, and then flip each stick over so you’re looking at the future bottom of the tabletop.
Bar clamp them all together so they’re lined up. Be careful not to clamp them too tightly, or the sticks will buckle and you’ll have to realign everything.
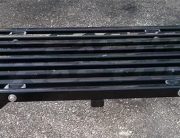
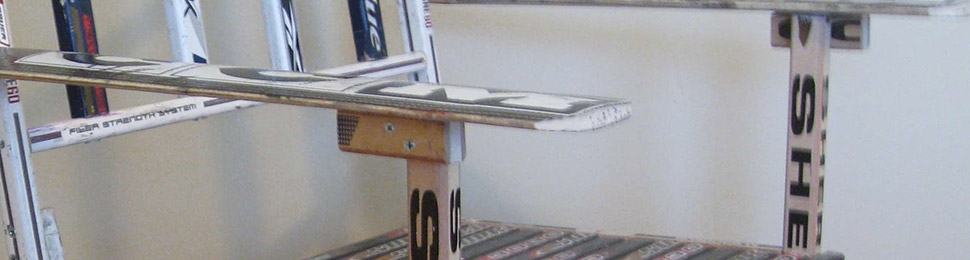
Cut three sticks to be the cross attachment beams. Their length will need to be just under the width of the tabletop, which makes it easier to hide their appearance or add a finishing layer easier. Between 1/8″ and a 1/4″ is probably fine on either side. The total length depends on the total number of sticks you used for the top. So if the width is 26.75″ as shown below, go with each being about 26.5″. Again, this is the bottom of the table, and it’s a lot easier to cut them now than to attach and cut later.
Place two cross beams about 2.75″ from the eventual length of your table top. This is where the legs will attach and determine your table’s stability. It doesn’t matter what it is, as long as it’s equidistant from both edges and big enough to get a circular saw in. The total usable length of my 23 sticks was about 35 7/8″, so my cross beams start 2.75″ from that. The third is in the middle of the top.
Now screw in a single #6 1.25″ wood screw into each of the sticks to hold them in place, making sure it goes through the cross beam first. One screw for each table top stick.
Using a circular saw and guide, cut both sides of the table. In my coffee table, the width was 35 7/8″ due to a 1/8″ loss of the blade.
Build the legs
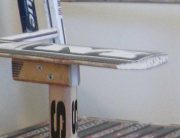
For the legs, stack the sticks 2×2. You can make it 2×1 or just use just one, but it won’t be as sturdy. Attach two sticks together on the long edges first as shown in the figure using #6, 1.25″. Once you have two of those, you’ll need to use 1.5″ screws to get through the stick the long way, thus creating one solid 2×2 leg. About four or five screws equally spaced over the 16″ length is sufficient.
You’ll have to repeat this four times for each leg of the table. You now have four excellent clubs.
Secure the attachments
After you’ve made the legs, you’ll need a secure way to attach them to top of the table.
Support pieces will accomplish this task. Take four pieces and make a box around the bottom of the top surface piece, ensuring the ends line up cleanly.
Screw those down into the top through the cross beams that hold the top together using #6, 1.5” screws, dodging the #6 1.25” holding the support beams to the top.
Secure each leg through the sides of the box with #6, 1.25″ screws. This will hold each leg to the table top. Don’t worry if the legs aren’t perfectly vertical. Just do your best to keep them upright. In the example below, the longer side goes edge to edge of the supports.
Building the bottom support
All that’s left now is to attach the bottom frame. You’ll cut four more pieces of the same length that you used to secure the top, assuming you cut the length the pieces to go from edge to edge like I recommended. Bar clamp the four pieces together to make sure you have everything level. Use a level to measure the angle of each of the four leg / top attachment pieces. Then make sure that each of the bottom four framing pieces here shares the same value as its corresponding attachment piece. We want parallel bottom support frames and top/leg attachment frames. If you get non-zero angles, it’s (probably) OK; it just means your work surface isn’t level! But be reasonable of course.
Once you’re happy with the levelness of all the parts, screw the pieces in place with #6, 1.25″.
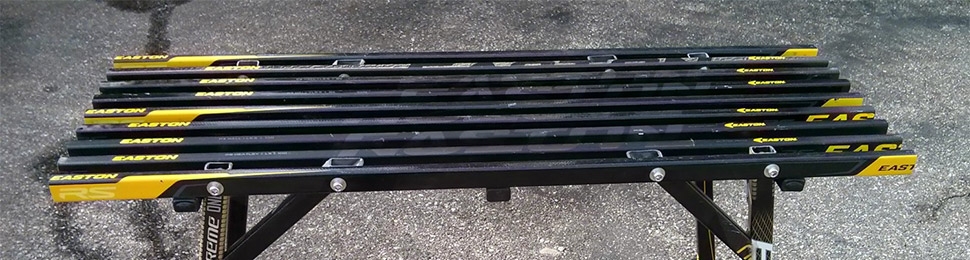
The result
Once you’re done, you can add a frame around the top if you’d like.
